Technical Details
 I made my Butkovic in 2004
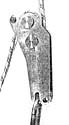
I used the plans provided in Figure 9 of Tomaz Planina’s Climbing
ropes wearing out with rope brakes, Nase jame, 19, 1977,
pp. 15-22, which was a translation of the original (Obraba
vrvi pri spuscanju z vrvnimi zavorami, Nase jame, 17, 1976,
pp. 15-22). I had to scale parts of the plans when there were
no dimensions. I made some nonfunctional changes as well, such
as using UNC thread sizes instead of metric sizes. I placed a
picture of an original from that article to the right.
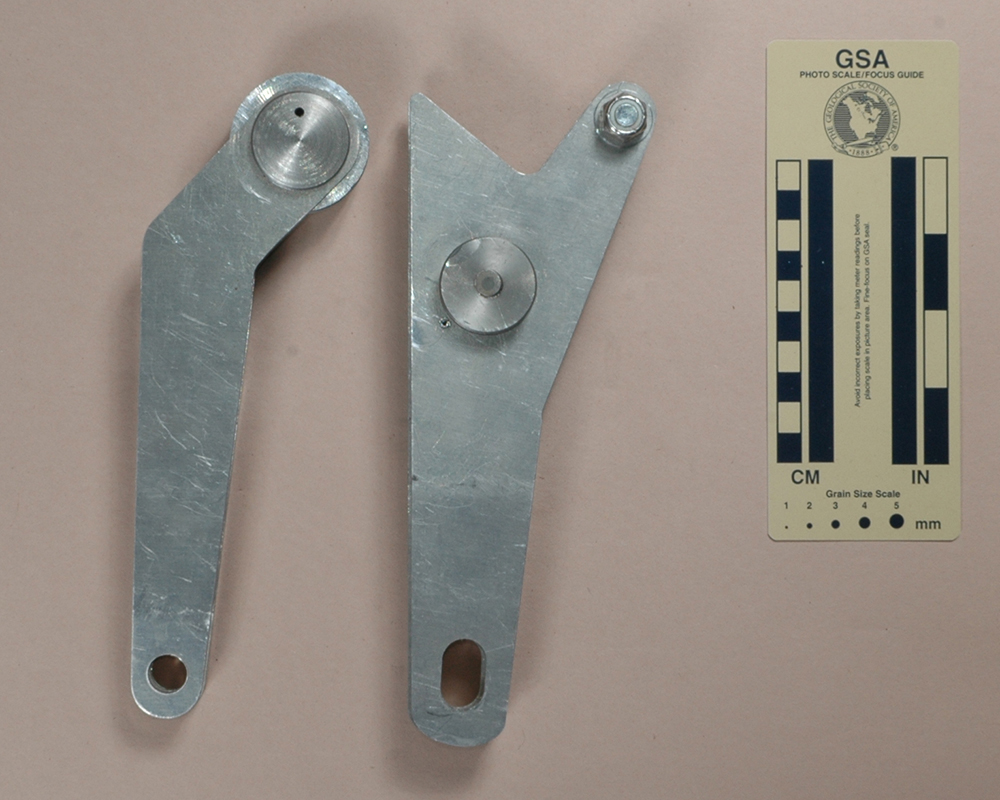
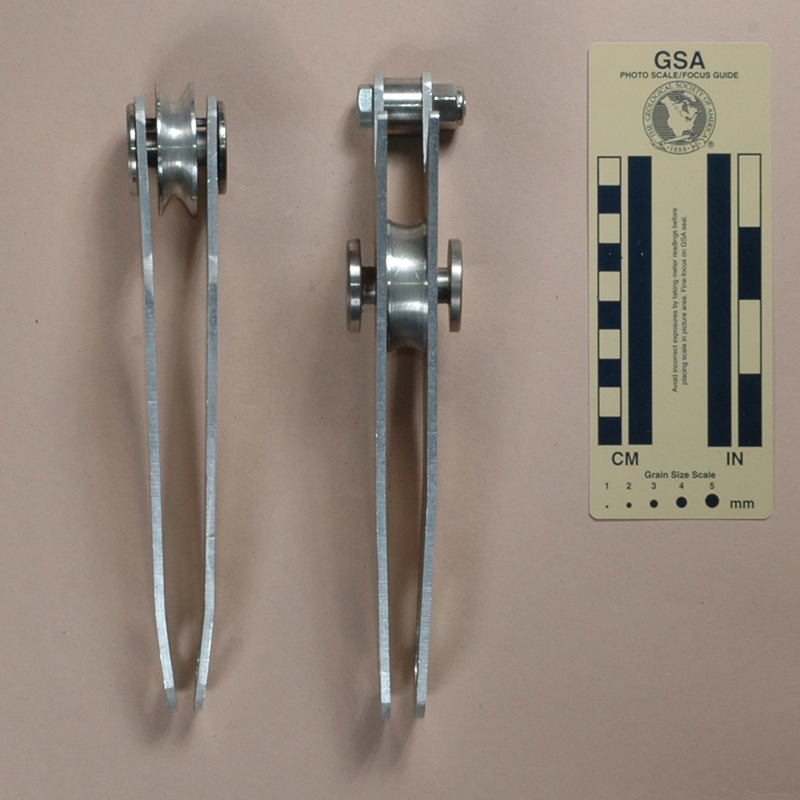
The Butkovic consists of separate lower and upper assemblies,
as follows:
| |
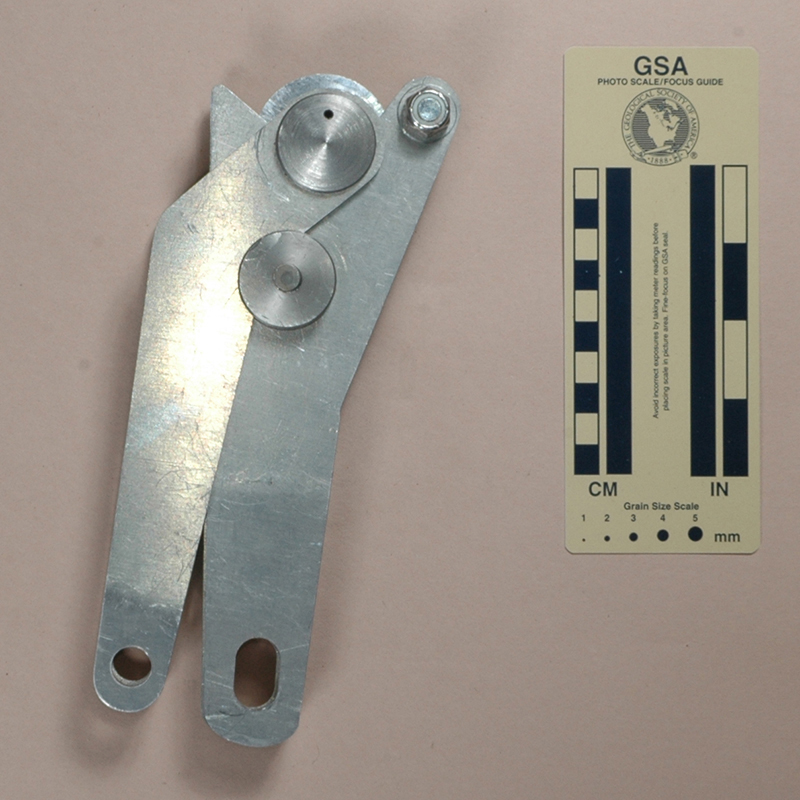
Lower Assembly
The lower assembly carries two bollards between a pair of y-shaped side plates. A small bollard sits at the top of the angled arm of the "y," and a larger bollard sits near about 70 mm. down and to the left, in the area where the arms meet. A vertically-oriented 23- by 14.4 mm. hole near the base of the provides a clip-in point. The side plates are separated by 14 mm. near the top, but have a slight inward bend so that their separation is bout 9 mm. near the base.
The top bollard is a 20 mm. diameter, 14 mm. long cylindrical piece of 316 stainless steel whose central axis is drilled and tapped with a 5/16"-UNC thread. A 5/16-UNC stainless steel bolt and stainless steel/nylon lock nut hold the upper bollard in place. I made my lower bollard from 6061-T6, turned and faced to 14 mm. thickness (Planina’s figure specifies 13 mm., but one really wants the lower bollard to be slightly thicker than the upper-assembly bollard). This bollard is 45 mm. in diameter, has a 1 mm. cylindrical portion at each edge, and then a U-groove with a central diameter of 41 mm. and a groove cross-section radius of 2 mm. The bollard rides on a custom shoulder bolt that consists of a 3 mm. thick, 32 mm. diameter chamfered head, then a 5 mm. long, 12 mm. diameter shoulder, and finally a 5/16"-UNC-threaded portion (Planina specified 8 mm.) extending for 28.5 mm. The custom nut mirrors the bolt: a 3 mm. thick, 32 mm. diameter chamfered head, then a 5 mm. long, 12 mm. diameter shoulder, with the axis tapped for 5/16"-UNC. The assembly has the bolt passing from near to far, first passing through a 5/15" hole in the near side plate, then the lower bollard (turned until tight),then the rear side plate, and finally the nut is tightened. The threaded joints use Loc-Tite® to keep everything in place. Finally, I drilled a 1/8" (3.2 mm.) hole through the side plates and bollard and installed a stainless steel roll pin to keep the bollard from rotating with respect to the side plate. |
| |
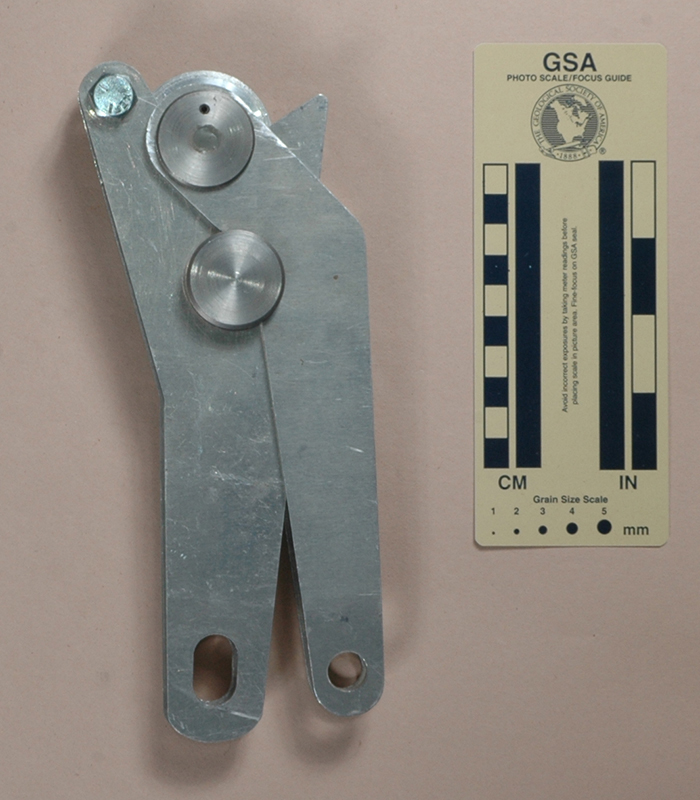
Upper assembly The upper assembly carries the top large bollard bolted between between two side plates, near their top. From the bollard centerline, the side plates descend at a 45 degree angle for about 65 mm., then drop straight down for about 150 mm., tapering as they go. There is a 12.7 mm. attachment hole at the base. The side plates bend in very slightly about 33 mm. from the bottom. I made my side plates from 1/8" (3.2 mm.) 6061-T6 aluminum.
I made my upper bollard from 6061-T6, turned and faced to 13 mm. thickness as Planina’s figure specifies. This bollard is 45 mm. in diameter, has a 1 mm. cylindrical portion at each edge, and then a V-groove with a central diameter of 34 mm. and a groove base radius of 2 mm. The bollard rides on a custom shoulder bolt that consists of a 3 mm. thick, 32 mm. diameter chamfered head, then a 7 mm. long, 12 mm. diameter shoulder, and finally a 5/16"-UNC-threaded portion (Planina specified 8 mm.) extending for 23 mm. The far side-plate was press-fit onto the shoulder, touching the head. I threaded the central axis of the upper bollard for 5/16"-UNC, and tightened it against the shoulder, using Loc-Tite® to keep it in place.
The custom nut mirrors the bolt: a 3 mm. thick, 32 mm. diameter chamfered head, then a 7 mm. long, 12 mm. diameter shoulder, with the near side plate pressed on. Note that I installed the bolt from the far side to the near side: this was so the normal loading on the top bollard would tend to tighten it against the bolt. I drilled a 1/8" (3.2 mm.) hole through the bolt head, near side plate, bollard, far side plate, and nut head, and installed a stainless steel roll pin to keep the nut, bollard and bolt from rotating with respect to the side plate. Finally, I filled the small depression where the bolt entered the nut with JB Weld® to make things look better.
The result is a Bollard between the two side plates, with a 4 mm. gap where the 12 mm. bolt and nut shoulders are exposed. The side plates of the lower assembly will fit into these gaps so that the shoulders can rest on the lower assembly side plates and support the upper assembly. The roll pin location is not critical but it must be toward the top of the bollards so that it does not interfere with this fit.
|
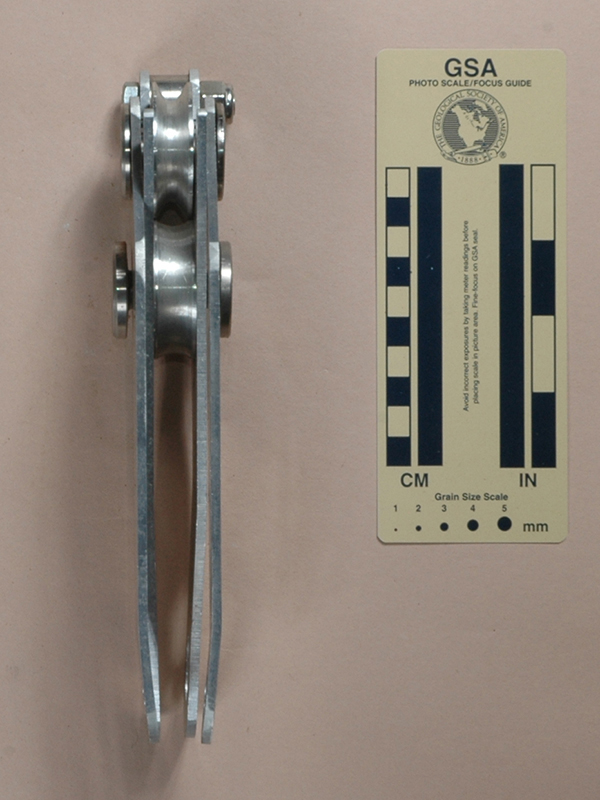
It is important to keep a space between the side plates for
both assemblies, near their base, since the rope passes there
when rigging.
To rig the Butkovic, bring the rope down the straight side
of the lower assembly, under the lower bollard, and force a bight
between the lower and cylindrical bollards. Slip the upper assembly
over the bight so that the rope passes around the upper assembly
bollard and the bends in the upper assembly side plates face the
proper direction. Drop the upper assembly into the lower assembly
"y" so that the upper assembly side plate arms lie on
the side of the lower bollard bolt opposite the cylindrical bollard.
See the picture.
On rappel, the rope weight pulls the upper bollard down the
slope of the lower side plate "ys" so that the rope
pinches between the various bollards. To descend, put one had
around the two assemblies below the lower bollard bolt and squeeze.
The upper bollard will ride up the "y" away from the
other bollards, reducing friction.
One can use the Butkovic as a plain bobbin by clipping the
attachment maillon trough the holes in all four side plates instead
of only the lower assembly side plate.
I find that my Butkovic is somewhat sensitive to rope diameter:
if the rope is too thin, it doesn't lock, and the upper assembly
tends to rotate until the arms spin and hit the cylindrical bollard
bolt - if they don't hit me first. For this reason, I recommend
keep one hand on the device. If the rope is too thick, the upper
assembly arms strike the attachment maillon before the two large
bollard separate enough to allow a comfortable descent. The obvious
solution is to redesign the upper assembly arms straighter to
allow more motion. I plan to do this in my next version; for this
one, I used a scaled enlargement of Planina’s drawings to lay
out my side plates.
If I were to make another, I think that I would redesign the
axle for the upper assembly bollard so that the side plates were
captured tightly between the nut and a bushing so that the side
plates did not flop around at all. One of mine has a slight wobble
to it, and though it does not have any functional implications,
I still don't like it that way. No matter how tight the assembly,
the leverage available at the clip-in point would probably loosen
any press-fit between the bolt/nut and side plate.
Tomaz Planina (Obraba vrvi pri spuscanju z vrvnimi zavorami,
Nase jame, 17, 1976, pp. 15-22; Climbing ropes wearing out
with rope brakes, Nase jame, 19, 1977, pp. 15-22), indicated
that bobbins may damage the rope less than several other common
devices, including rappel racks and
figure eights, and specifically
recommended the Butkovic as his preferred descender. I've wanted
one for a quarter century, being fascinated by the device, and
in fact this device is one of the main reasons I decided to put
some metal working equipment
in my garage. It will never be my main rappel device, but I still
think the design is cool.