Back plate for a 6-inch 4-jaw Chuck
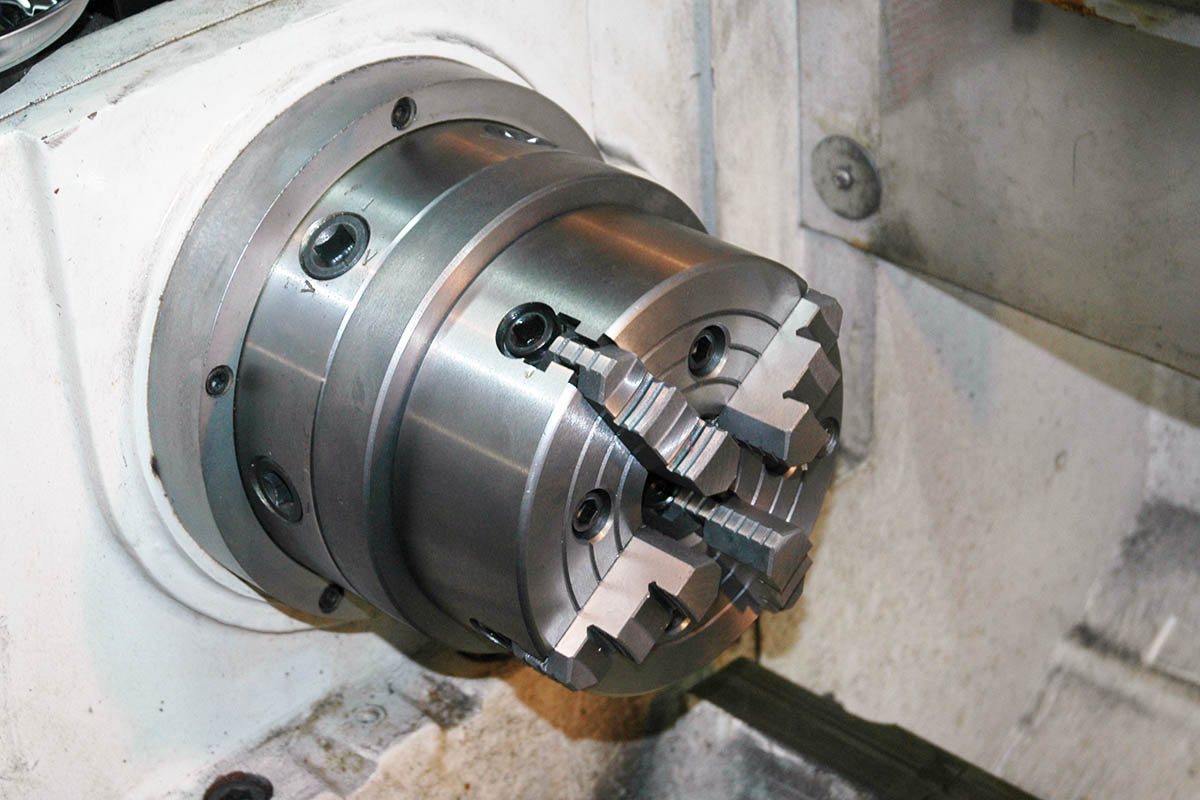
My PM-1640 lathe came with a 12-inch 4-jaw chuck that is larger than what I need for many jaws. I acquired a smaller 6-inch 4chuck and decided to make a D1-6 back plate for it. Obviously, I could have just bought one, but part of the reason for having a hobby machine shop is to allow making things myself.
Turning the back plate - initial Steps
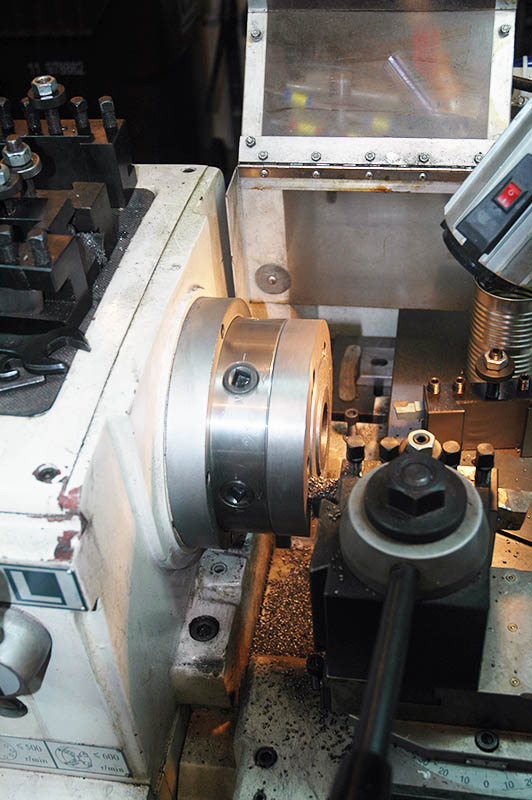
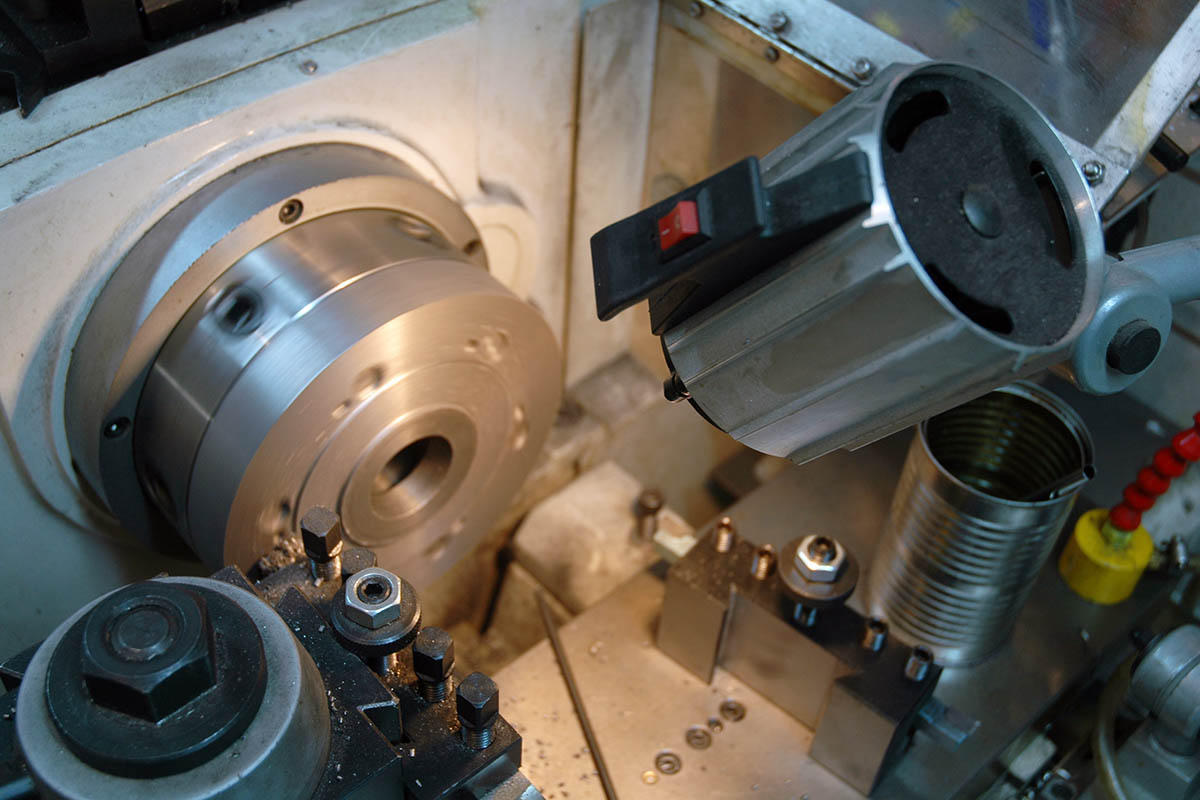
My first step was to turn one side of the back plate, boring the center hole, and turning an indicating surface on the periphery.
|
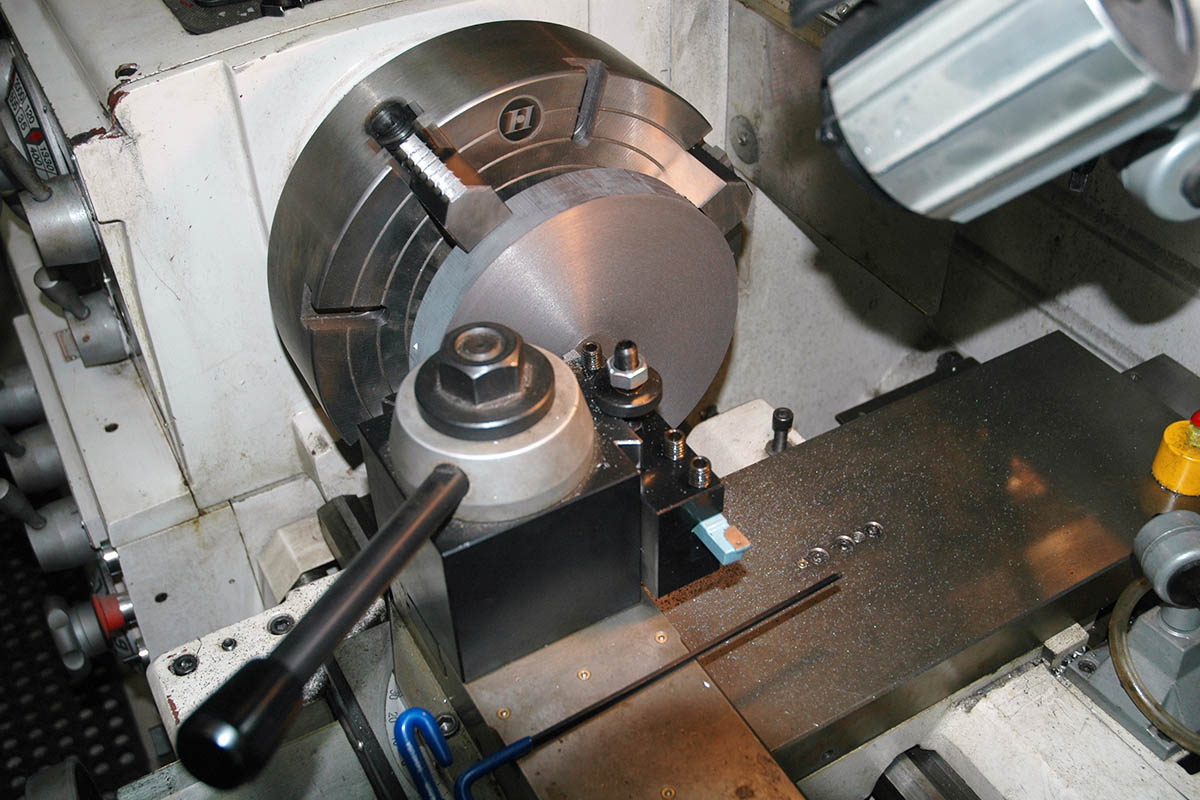
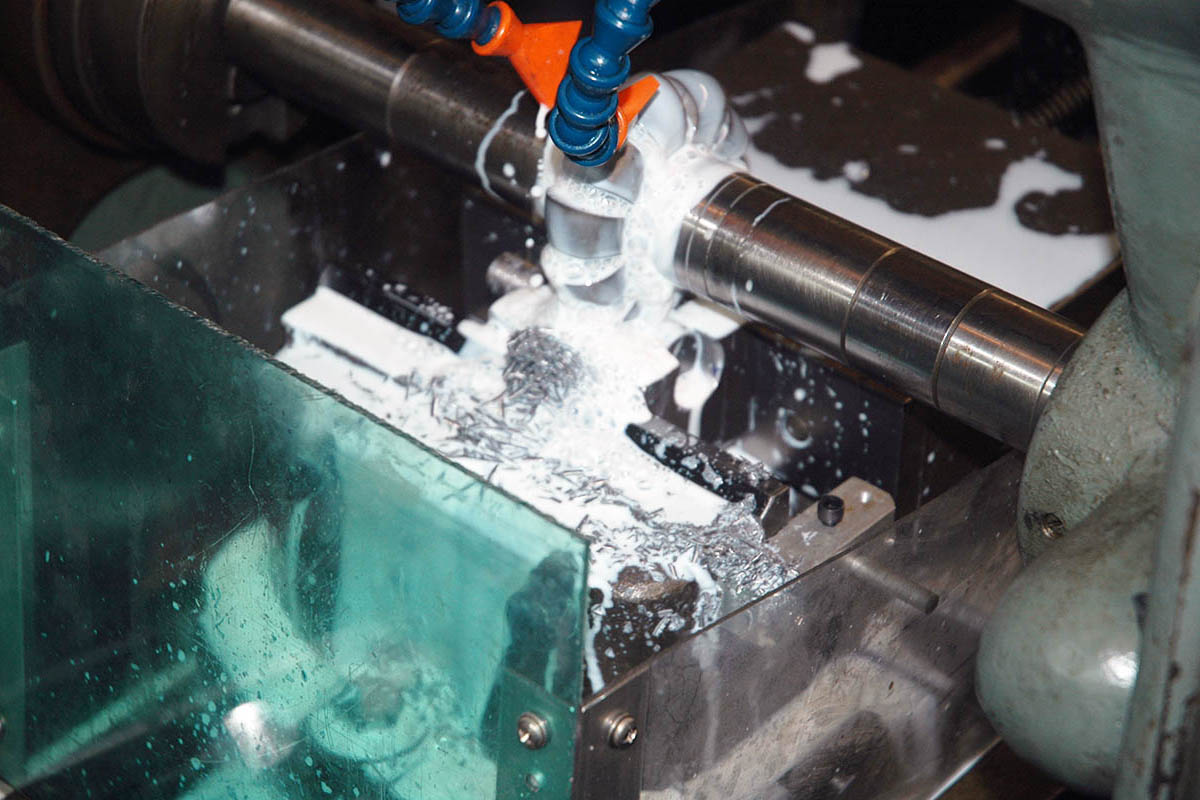
The cast iron disc that I started with had been sawn from a round,
so my first step was to face a flat surface. There was no need to
go all the way to the center.
|
Next, and not shown, I turned an indicating surface on the periphery.
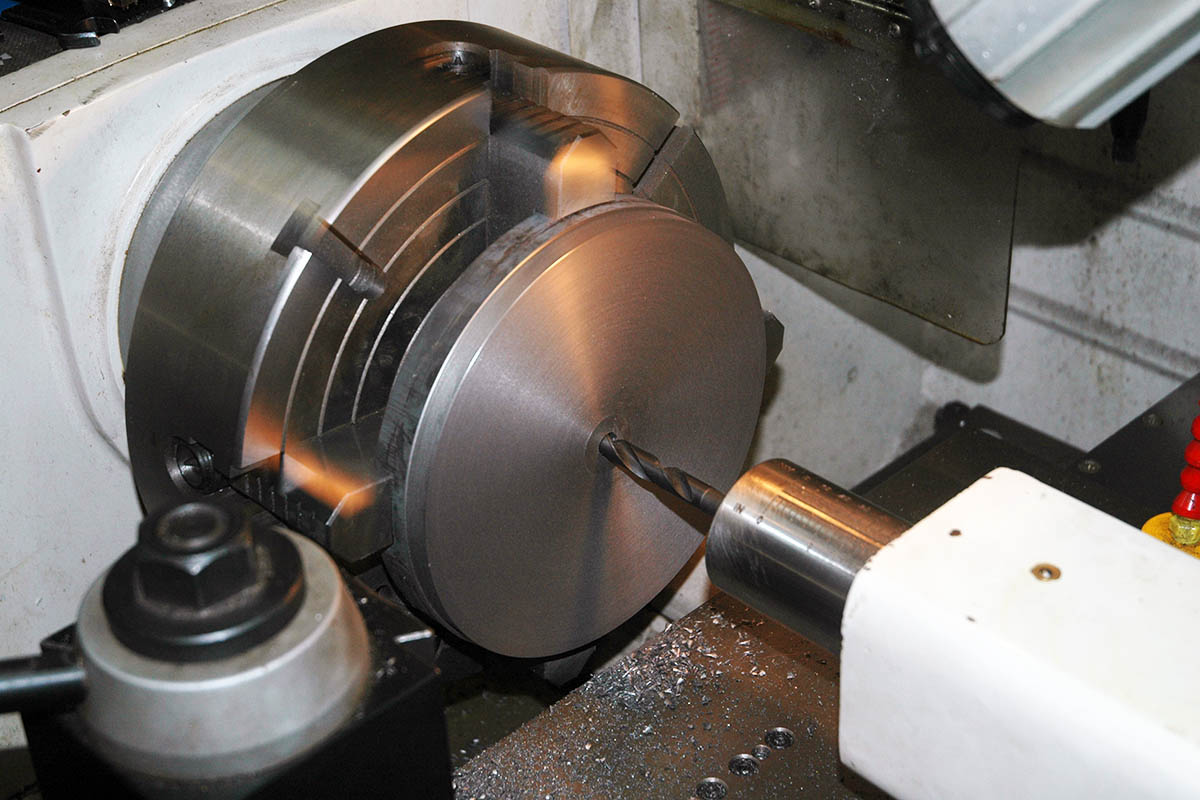
I then drilled a pilot hole in the center.
|
| |
|
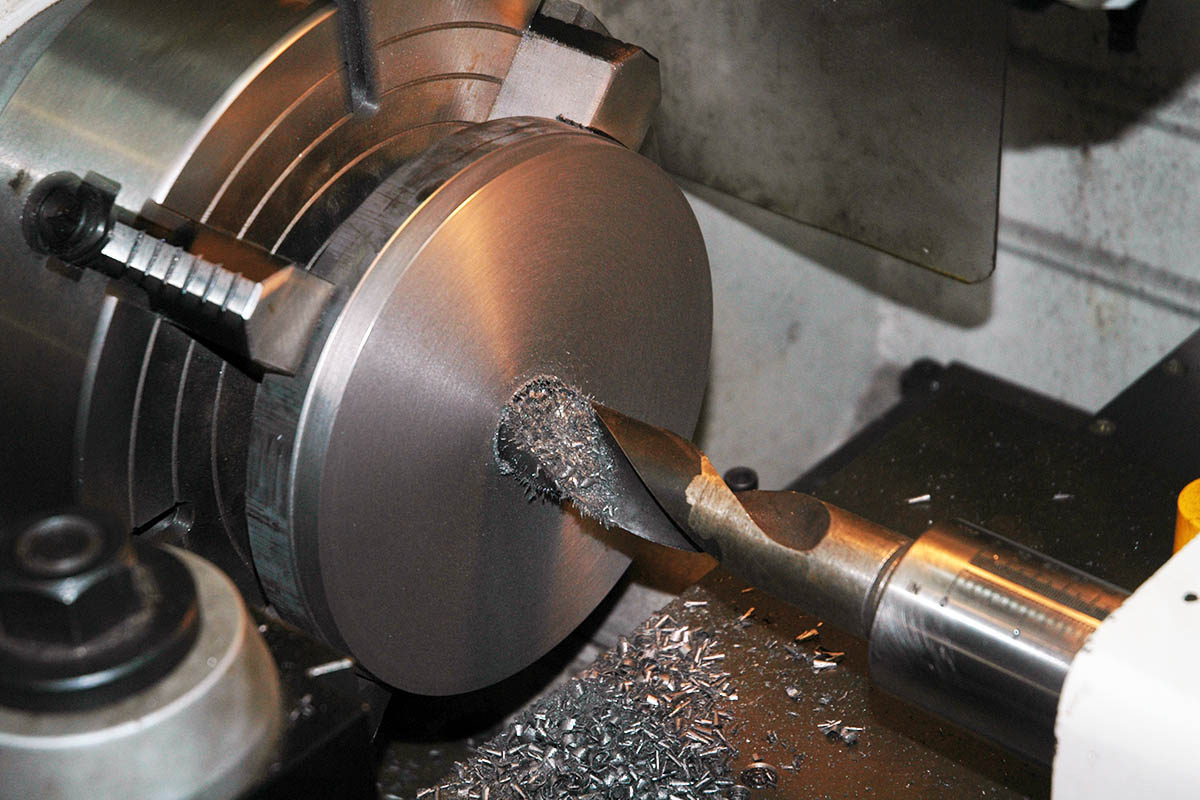
Enlarging the center hole. |
Boring the center hole to size, matching the chuck's hole. |
| |
|
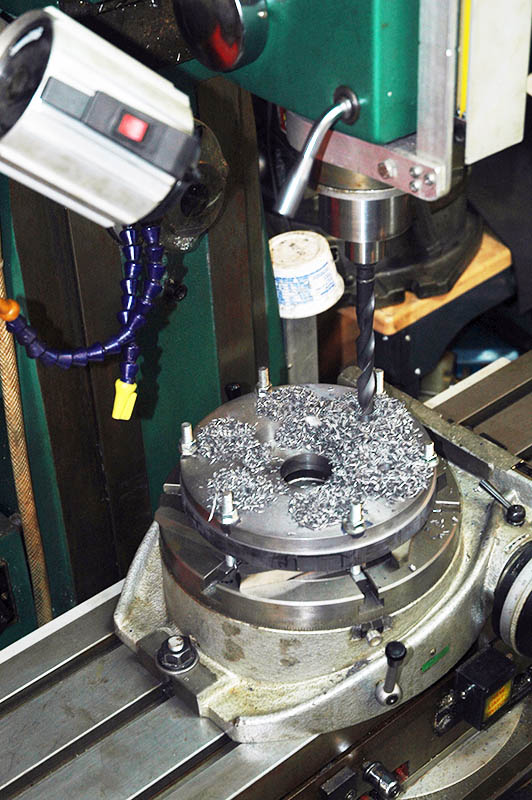
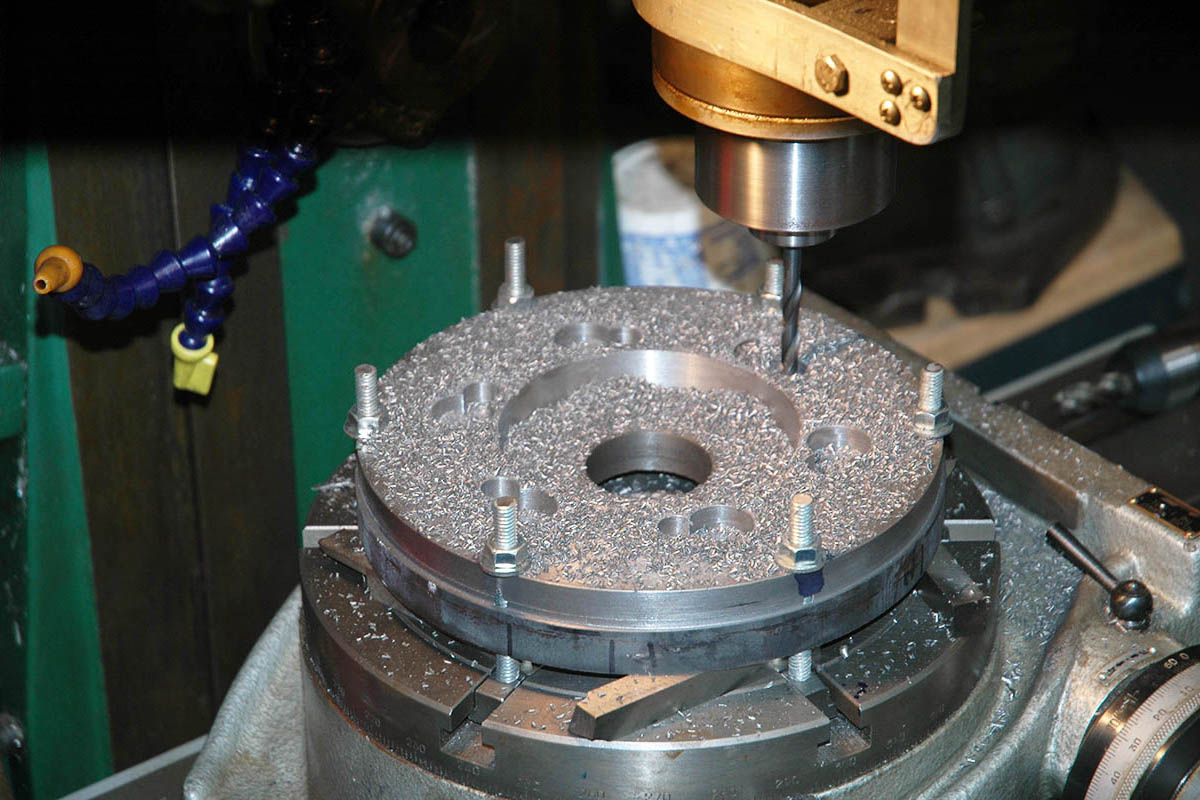
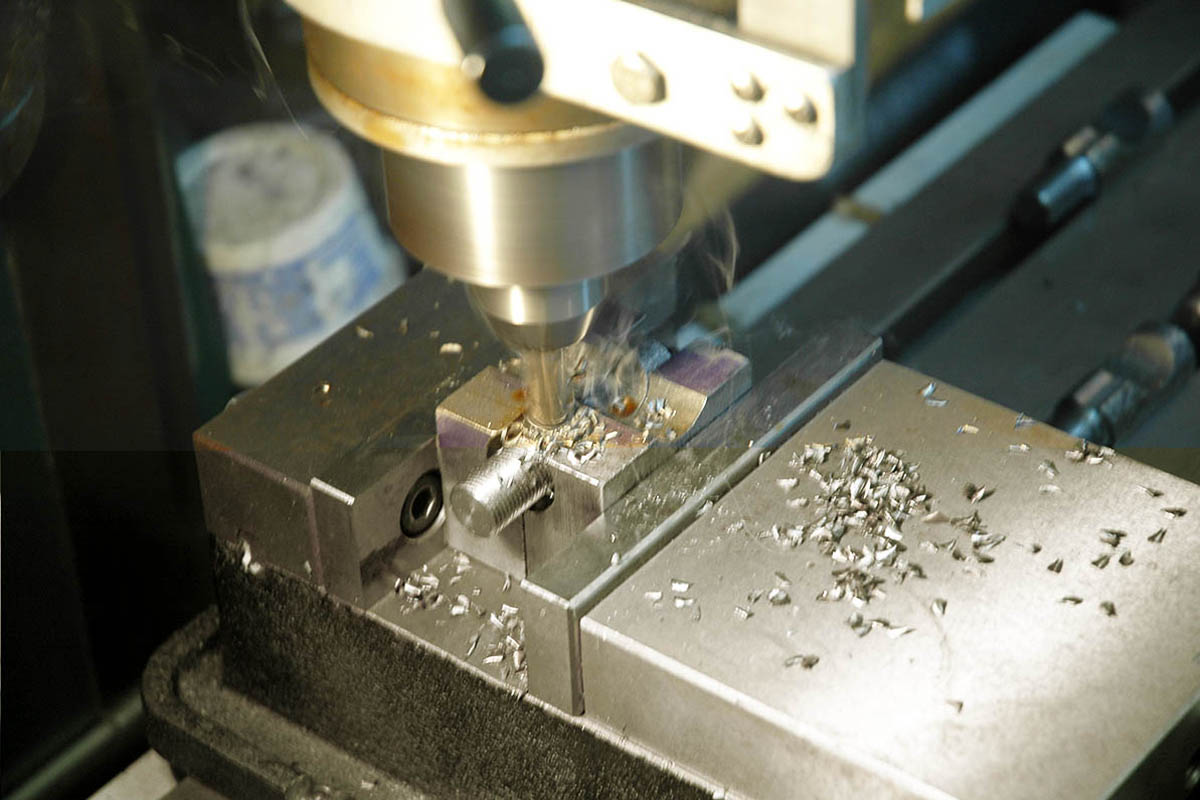
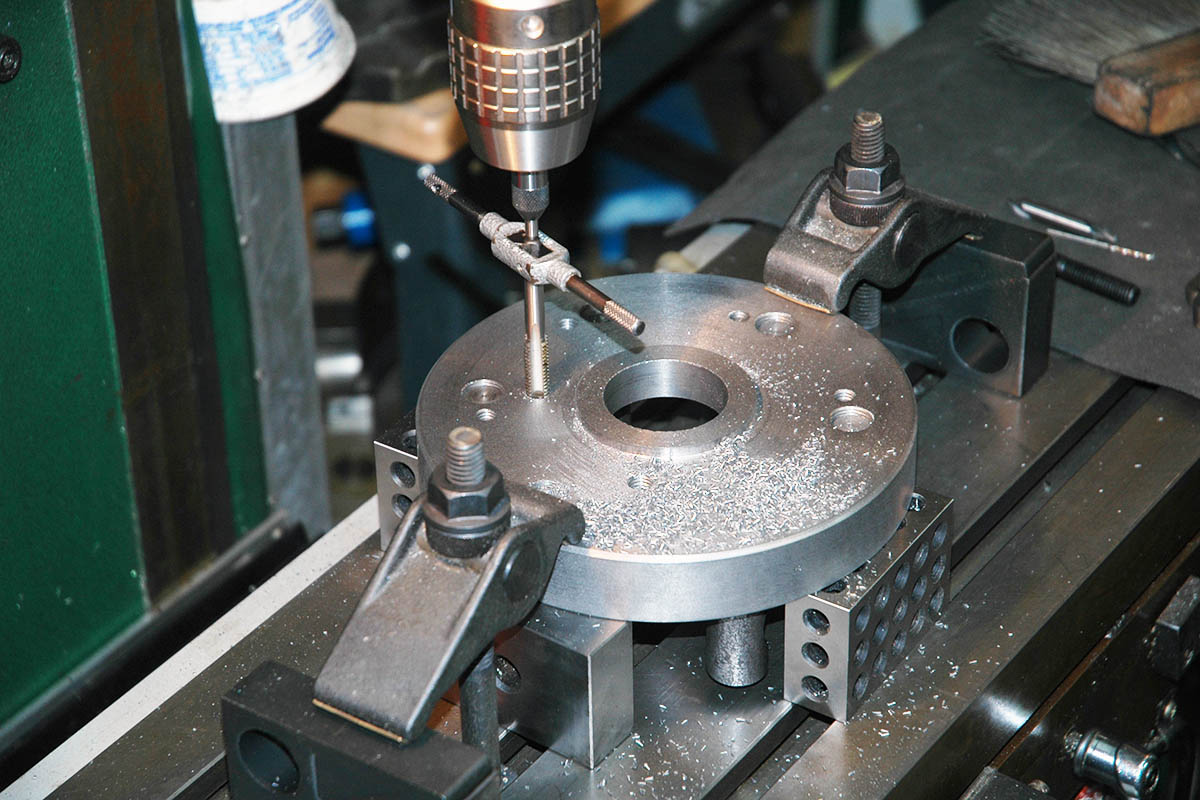
I did a layout for six holes around the plate's periphery,
and then drilled these on my drill press
(not shown).
I used these holes to mount the plate on a rotary table,
using the indicating surface turned earlier to center the plate.
|
Drilling holes the for the studs. |
| |
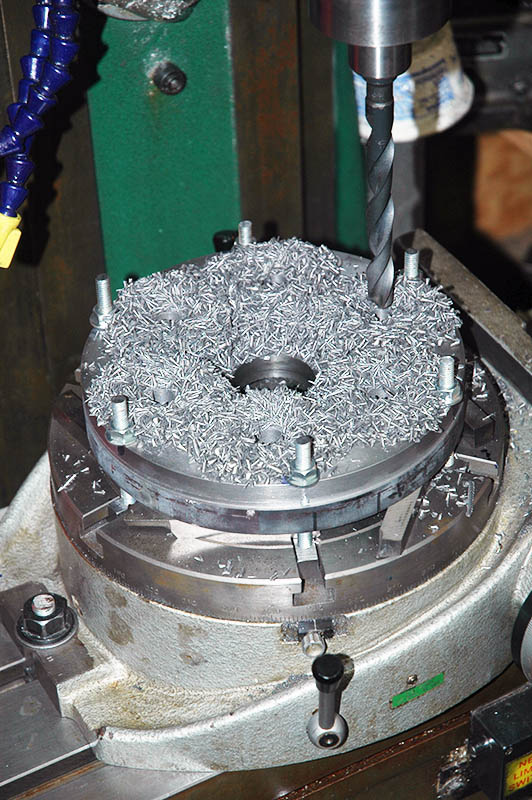
|
Tapping the stud holes. |
Boring the relief holes for the studs |
| |
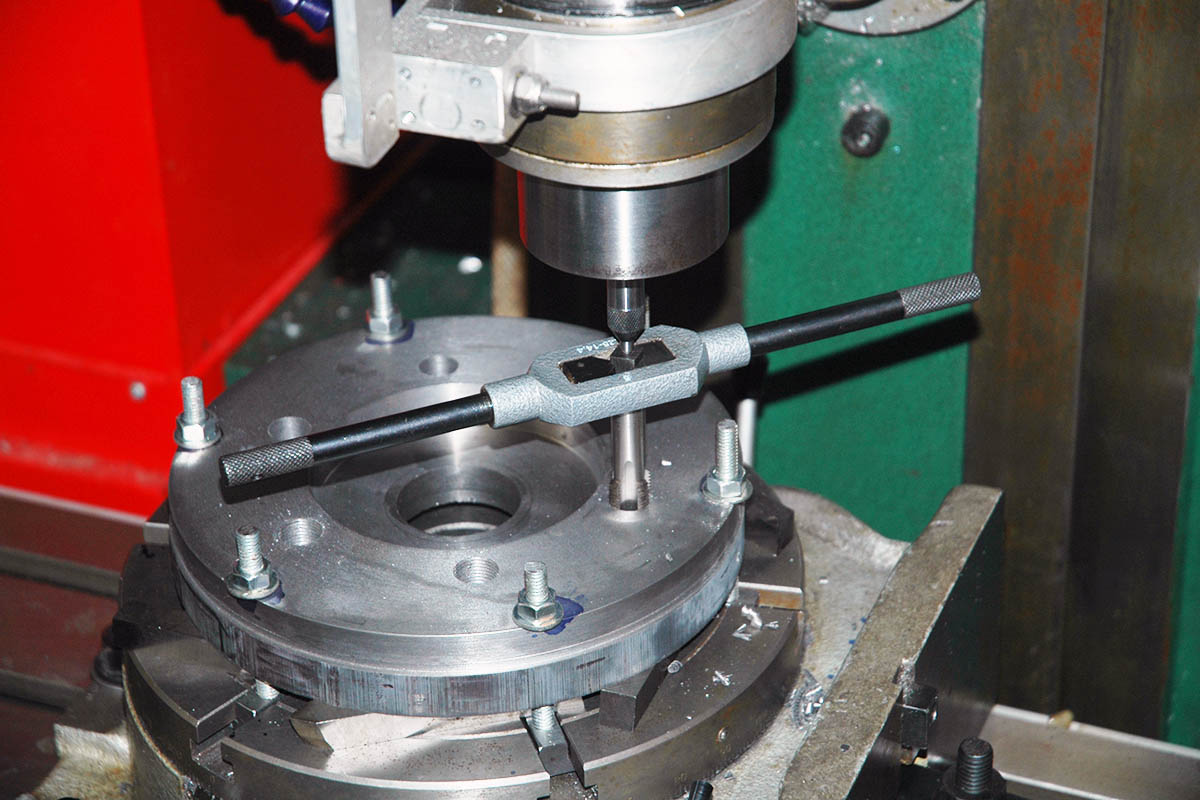
|
Drilling the holes for the cap screws that lock the studs in place |
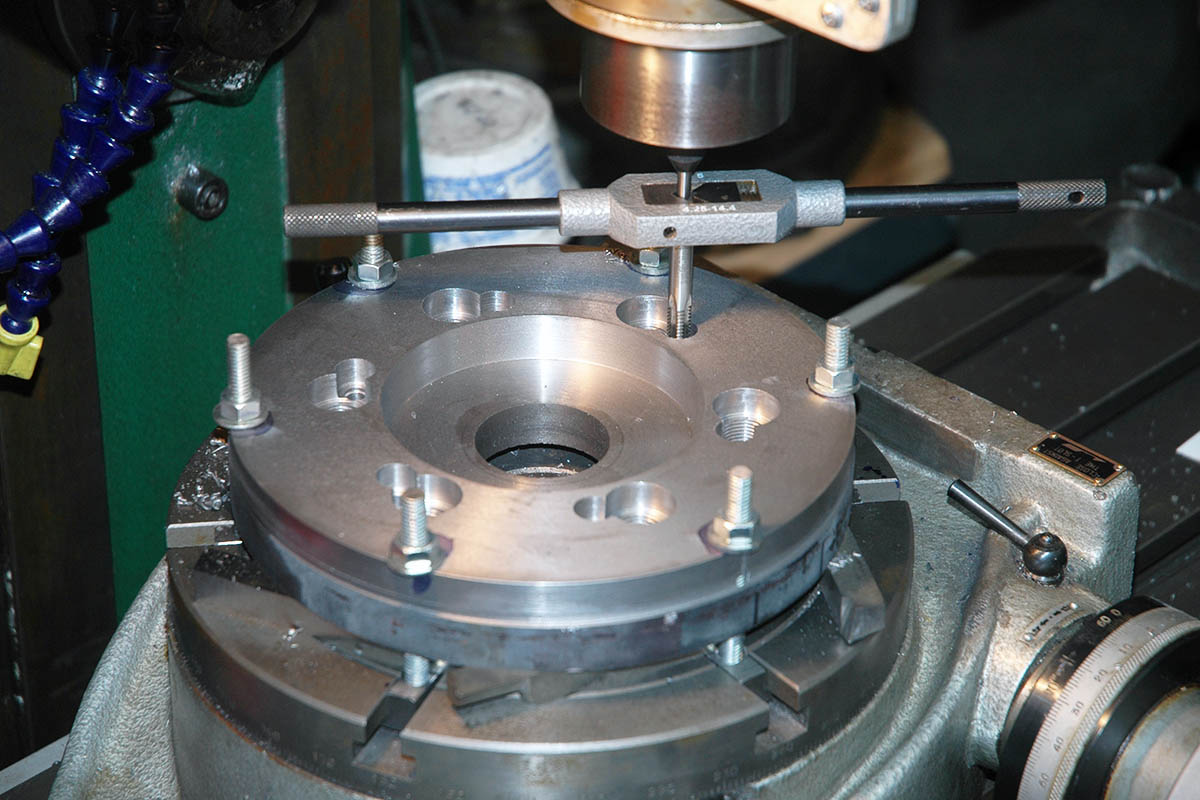
Tapping the stud holes.
The spindle side of the back plate is now complete. |
Making the studs
The D1-6 camlock system uses 7/8-inch studs. I made mine from some 4140 alloy steel rounds. My rounds were rather rusty, but the outer finish on the studs is not critical. After cutting the pieces to length. I cleaned them in a vibratory tumbler before taking them to the lathe.
|

I faced one end of each stud, and then turned it end-for-end.
I
used a parallel to seat each piece to the same depth in the chuck,
and then faced each to length. |
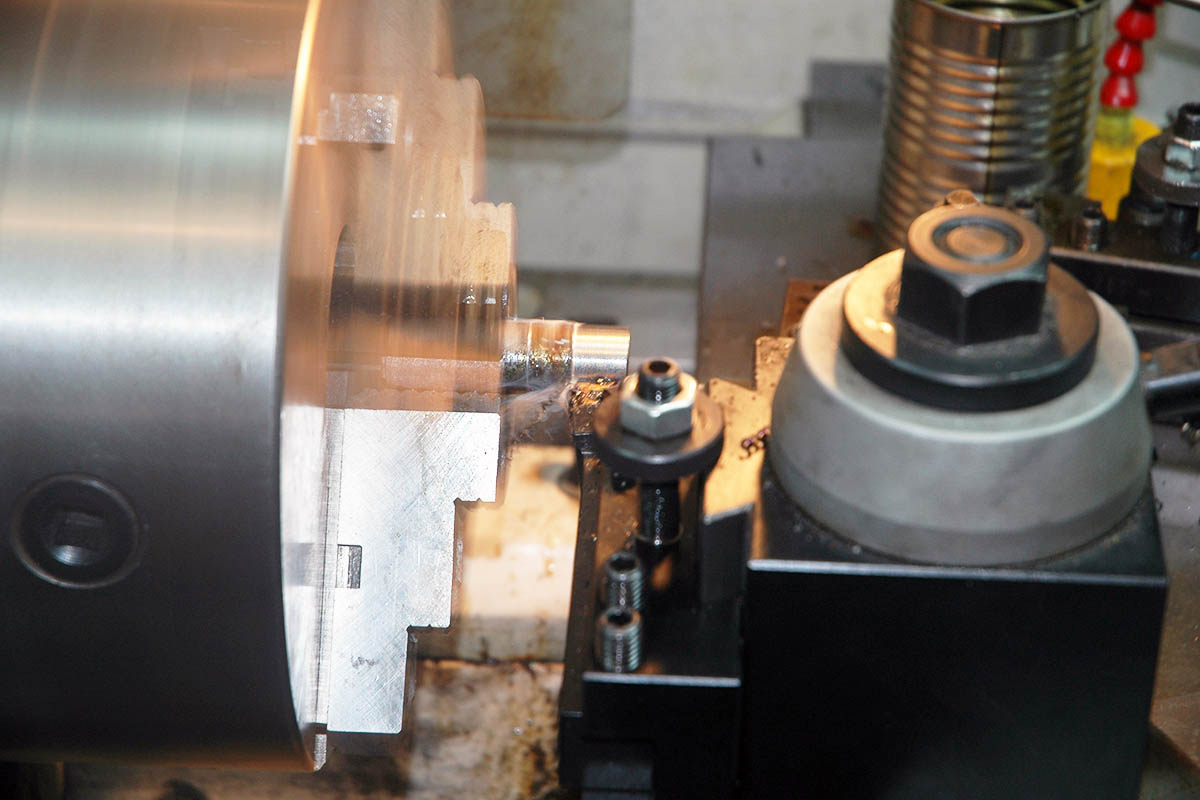
I then cut the thread surface to diameter.
I needed to be careful because heavy cuts would push the stud
into the chuck. My next project was to make a stop to fit the chuck! |
| |
|
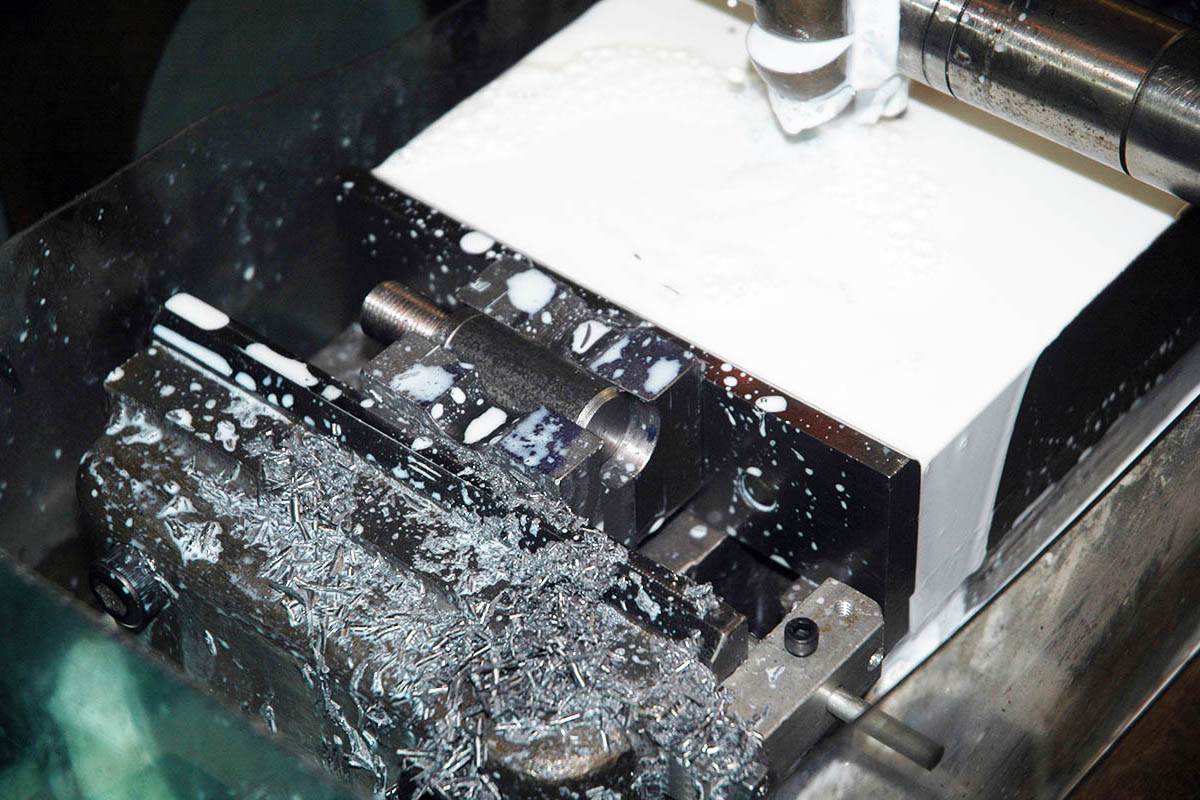
I made a jig to hold the studs in the B&S vise on my Cincinnati mill.
The mill stop aligns the jig, and the line on the jig aligns the stud.
|
Milling the cam surface in the stud using a
form-relieved convex milling cutter.
|
| |
|
Milling the clearance groove for the cap screw that locks the stud in place. |
Putting it all together
After threading the studs into the back plate, I performed the iterations needed to adjust each stud to the proper length. Once these were set, I was able to mount the back plate on the lathe for final finishing. This ensured that the chuck would be aligned properly with the spindle.
|
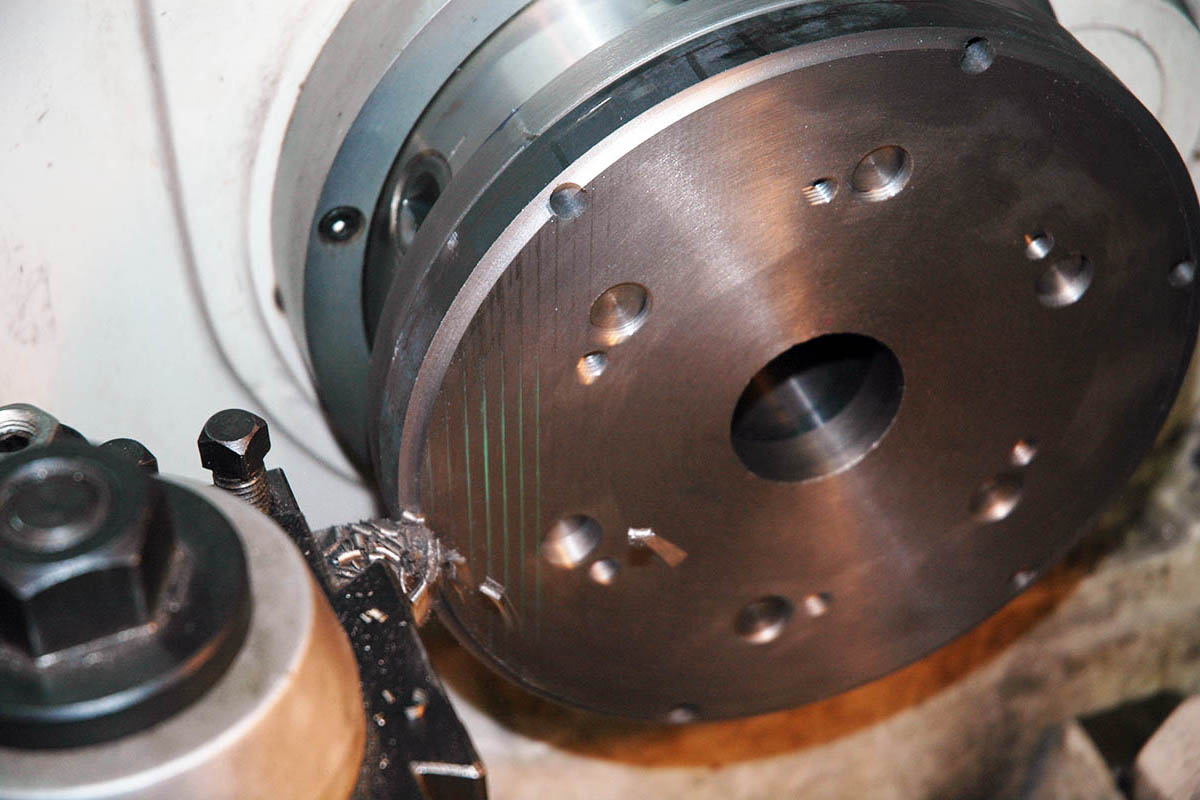
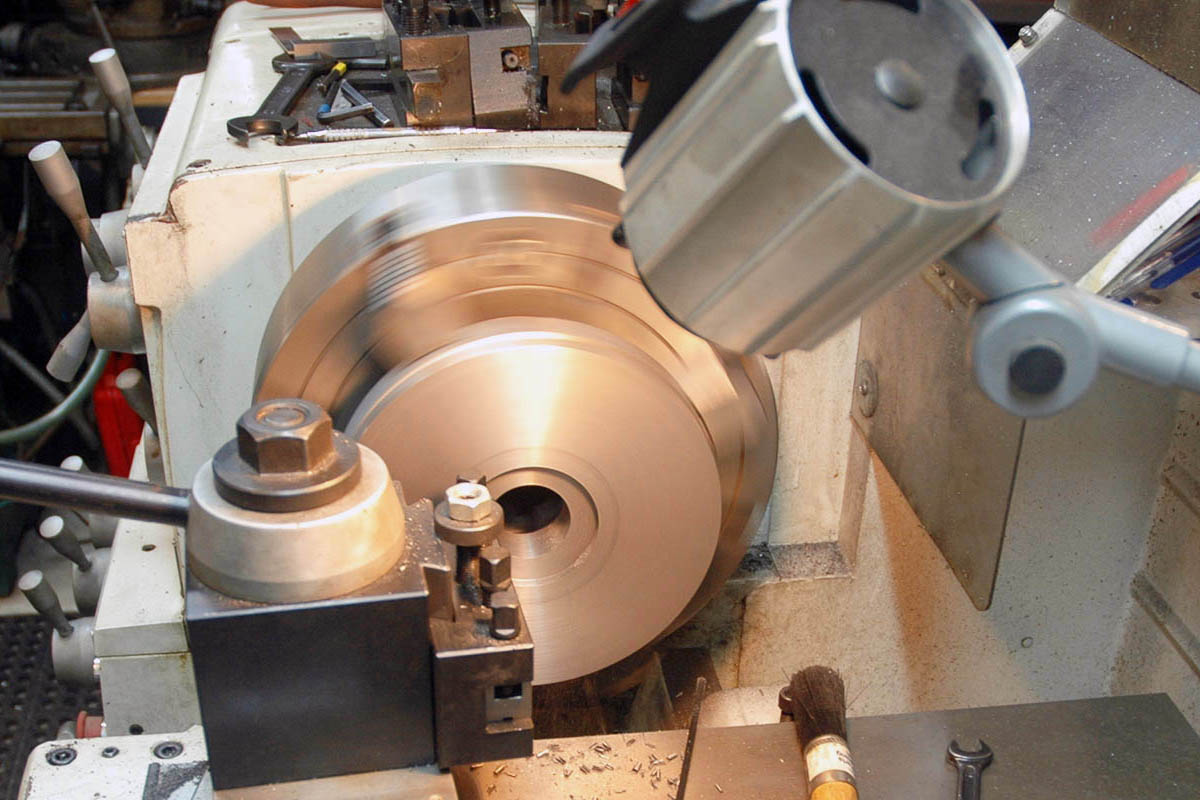
First, I rough faced the disc, and then turned the periphery down to the diameter of the spindle.
The 0.250" depth of cut was no problem for the PM-1640.
|
| |
|
I used a round-nose HSS bit for the heavy interrupted cut.
Carbine inserts might have chipped. |
Turning the final outside diameter removed the six
holes previous used to mount the disc on the rotary table.
|
| |
|
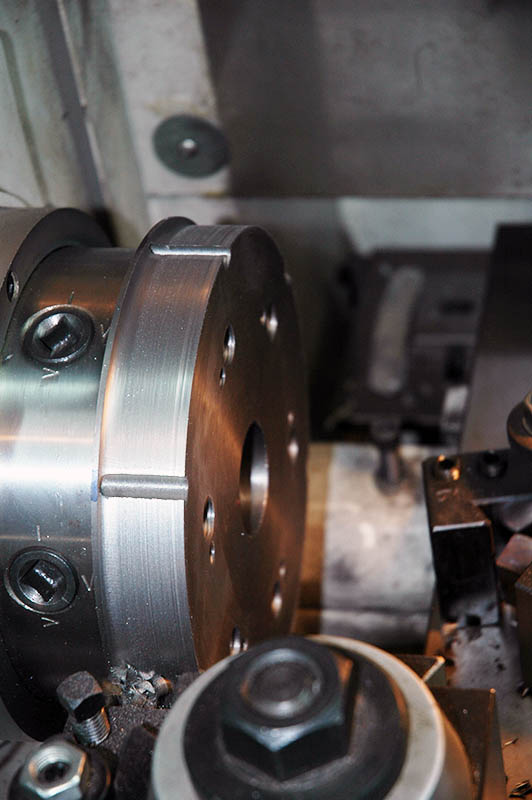
Turning the face that fits the chuck back,
leaving a central boss to align with a recess in the rear of the chuck. |
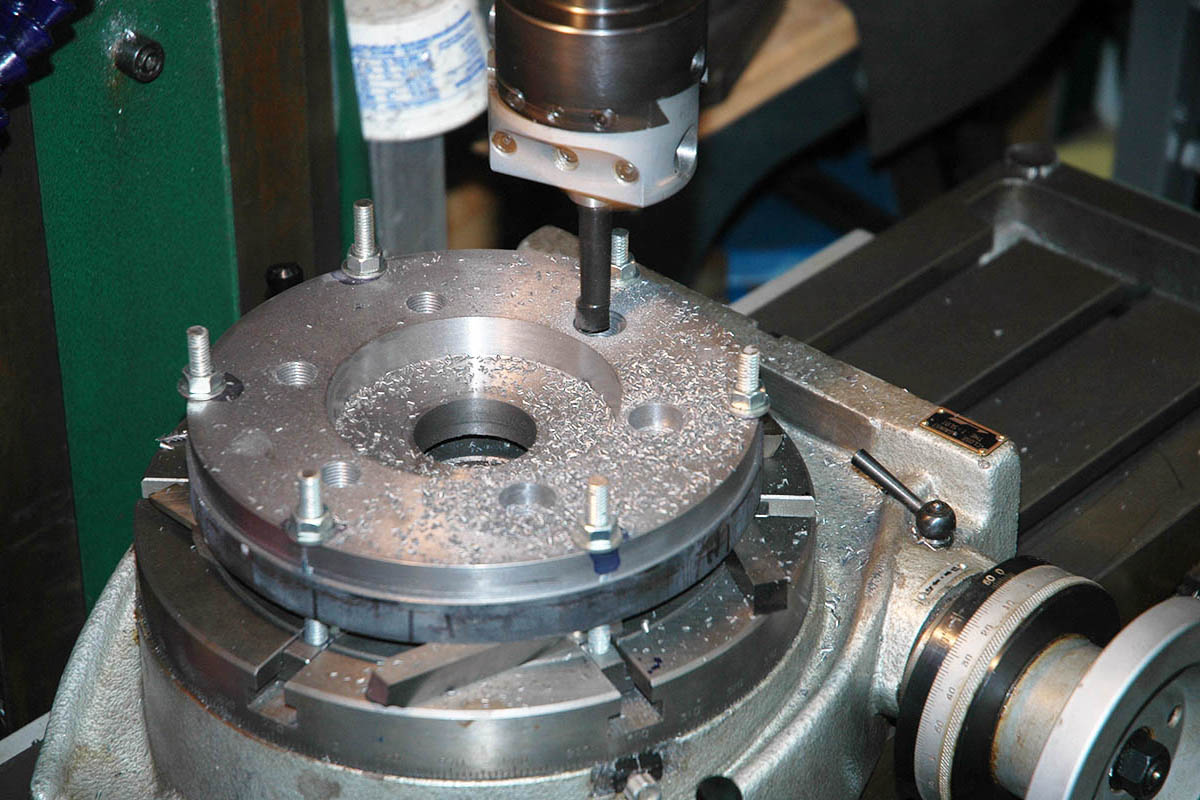
The chuck mounts to the back plate with four cap screws.
I transfer punched their location, drilled the holes on the G3617,
and then tapped the holes by hand.
|
| |
|
The finished product. |
